活動の中心となる家を造る
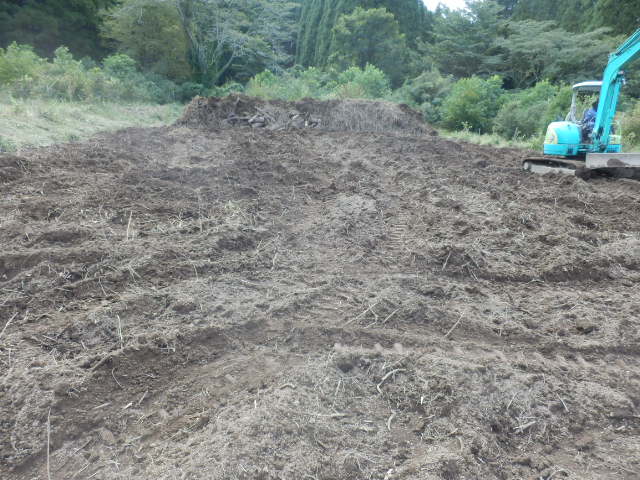
まず整地から、ここは竹藪でした、竹根の掘り出しです、あとで竹に悩まされないためにていねいに取り除く

柱を立てる位置を決める
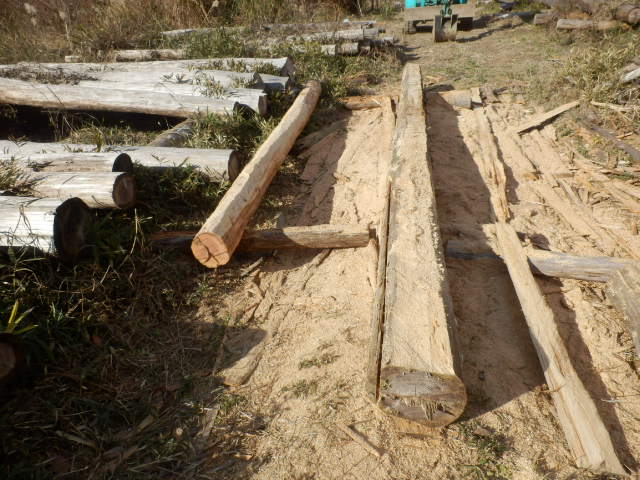
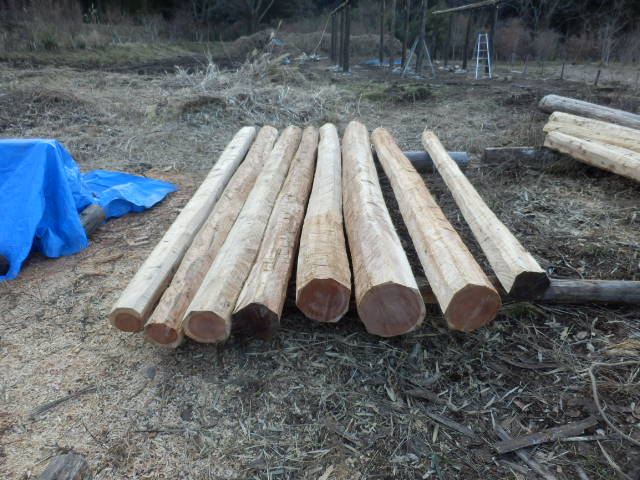
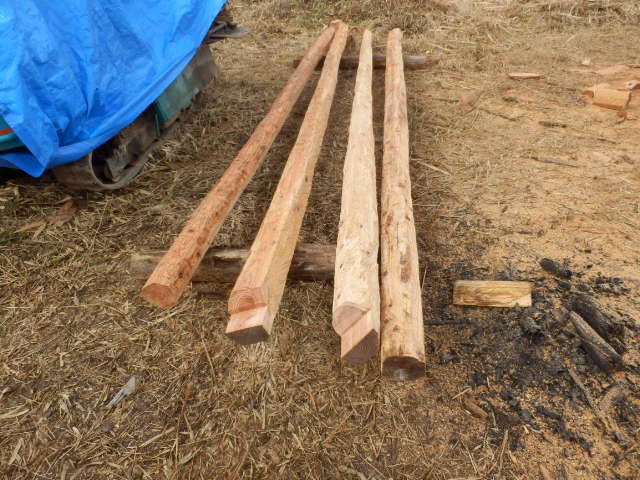
柱材12本を選別し、腐った部分をチェンソーで取り除く
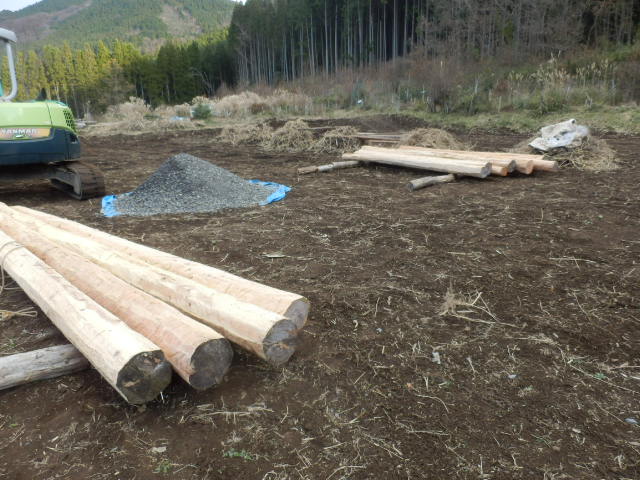
整地した場所に、柱12本を並べる

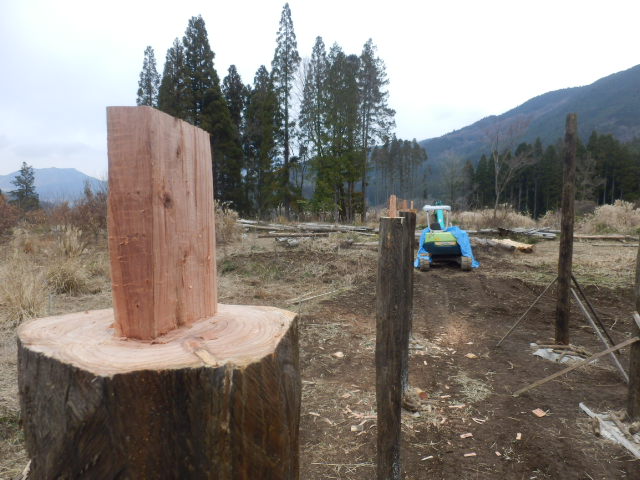
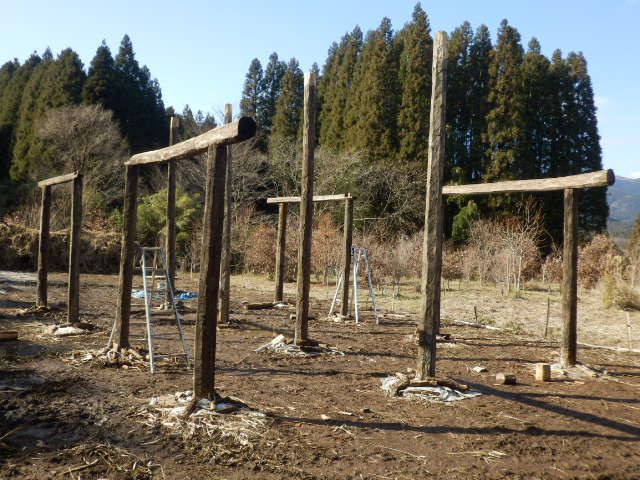
まず桁柱8本を立てる

続いて棟柱4本を立てる
桁柱8本の先端にほぞを加工する
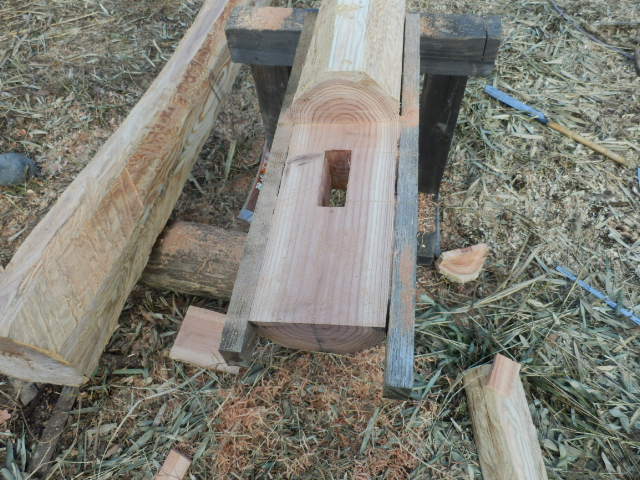
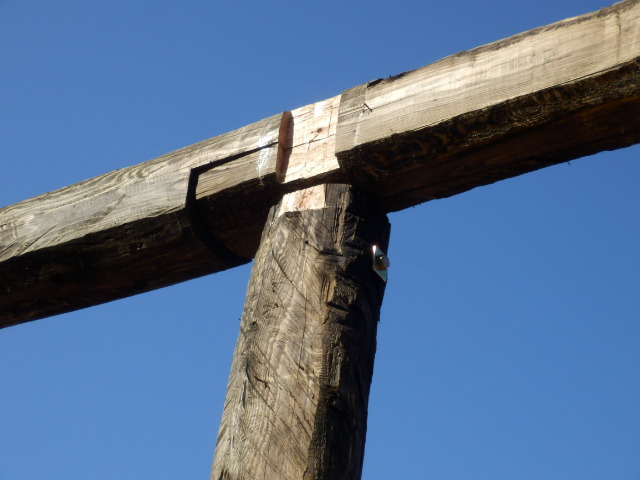
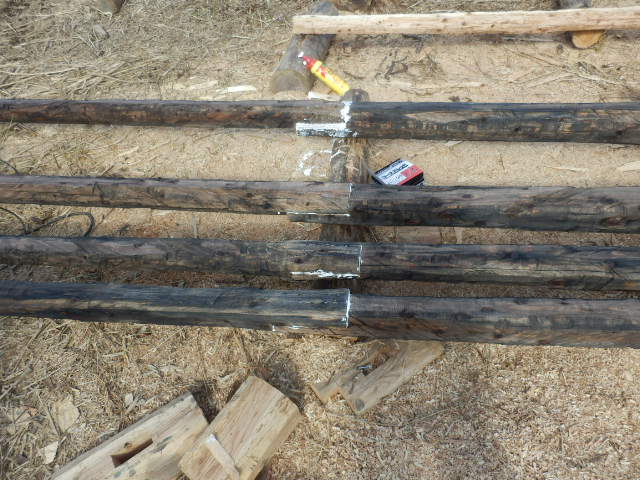
柱の位置精度が悪く、桁は1本材でできない、よって3本の木をつなぐ、写真はつなぎ部分の加工です、上下の桁を合わせてほぞで結合する
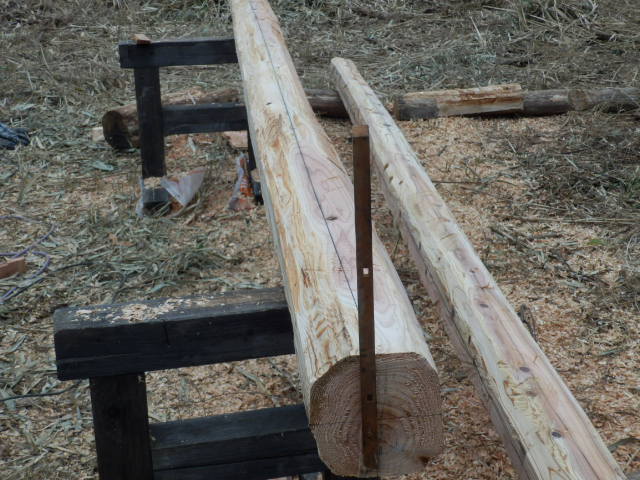
桁の接合部分の平面が合うようにねじれをとる
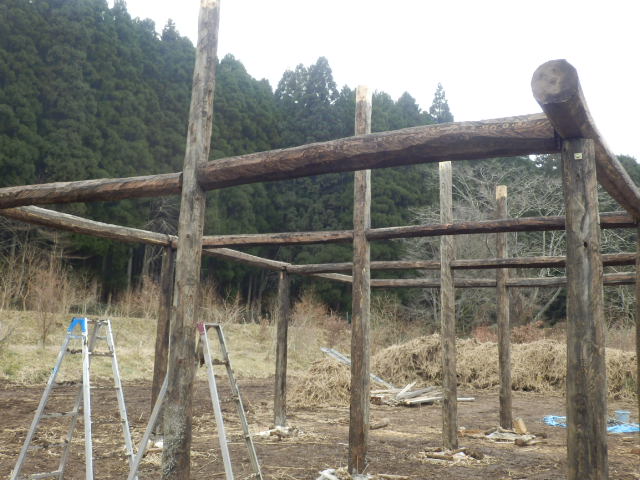
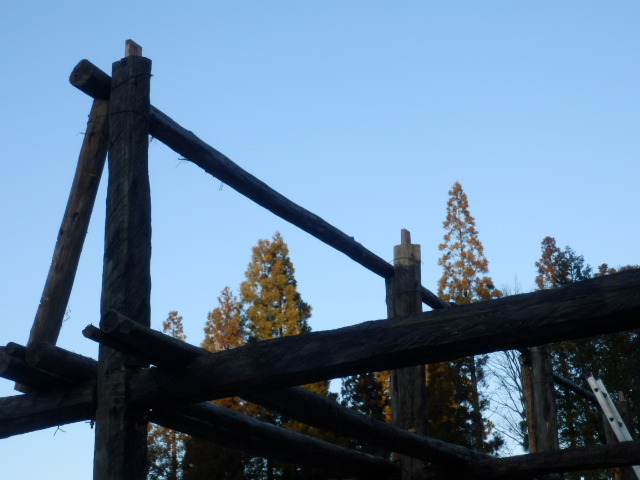
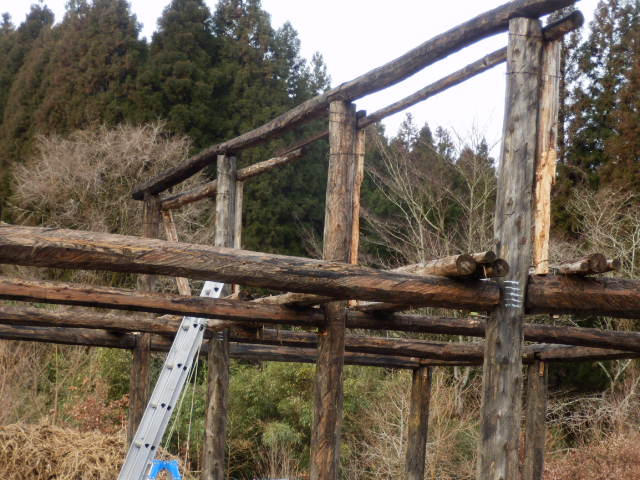
まず両端4本の柱に桁をのせる
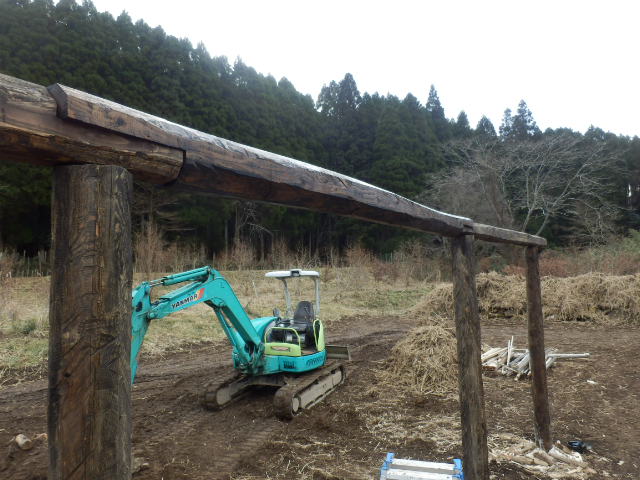
次に真ん中の桁をおさめ、桁が一体化する
梁を取り付ける加工を、桁と柱にする
梁8本を切り出す
梁8本を順次取り付け、羽子板ボルトで固定する
棟柱を加工するため、梁の上に足場を組む
棟柱にほぞ加工をする
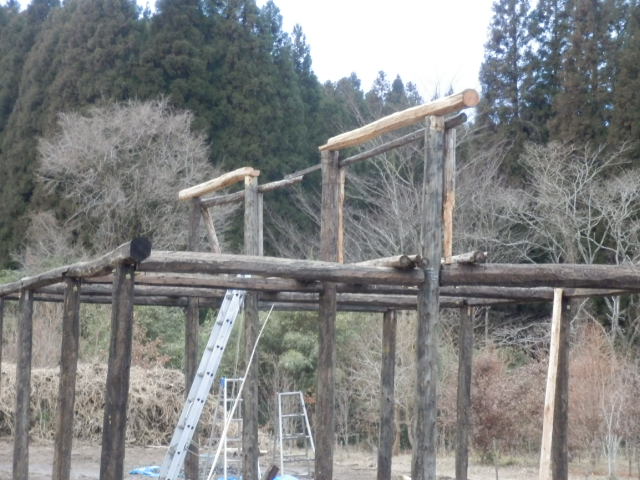
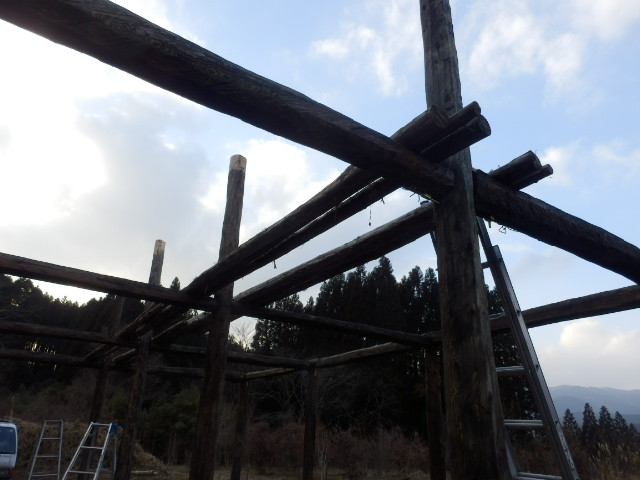
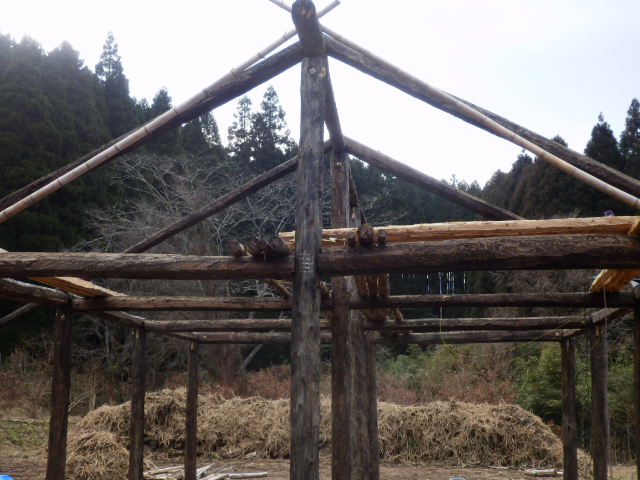
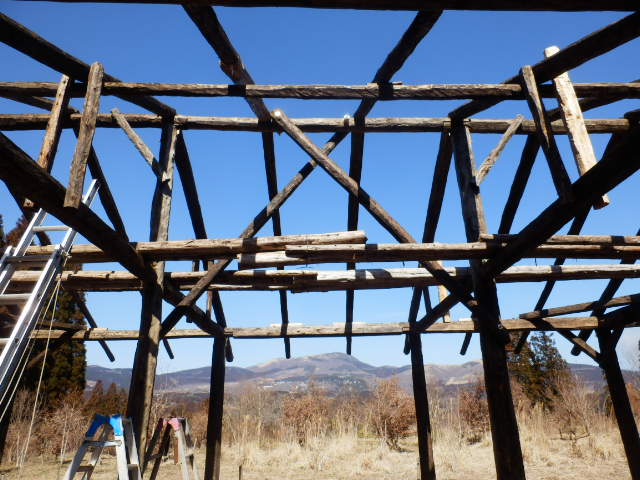
両端の棟を取り付ける、桁と同じく3分割です
中の棟を納め、これで棟上げです
保存していた、丸太の垂木材は腐って使い物にならない、またチェンソーでの切り出しです、それでも5mものは8本しか取れない
足りない垂木は接着剤とビスでつないでつくる
順次垂木を取り付ける

長く、かつ継ぎ垂木は強度がない、梁に束を立てて下から支える
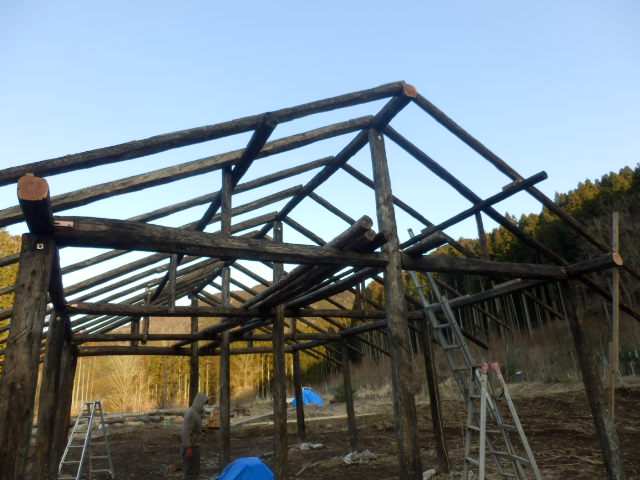
1m間隔で22本の垂木がおさまる
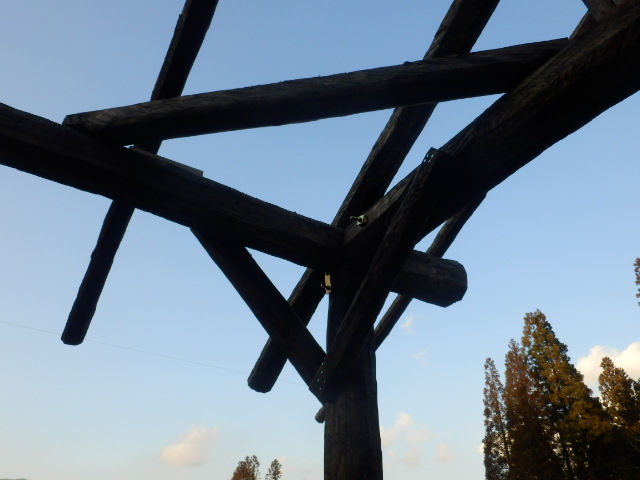
筋交いを入れる
ゆれがあるので、さらに中央に長い筋交いを入れる
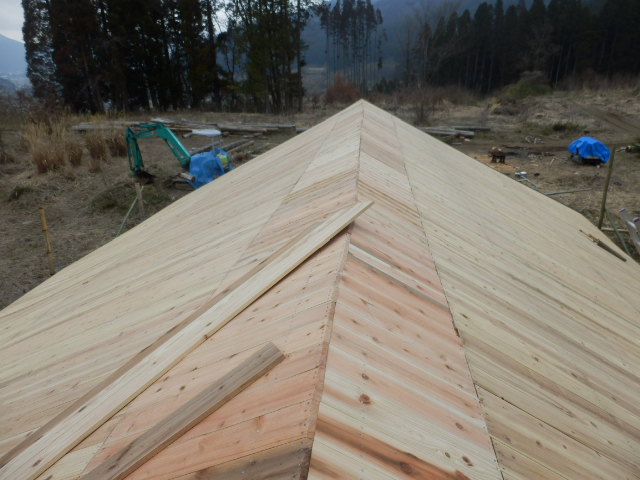
野地板をはる

ルーフィングをはり、防水ができた
屋根ふきは日をあらためて行う
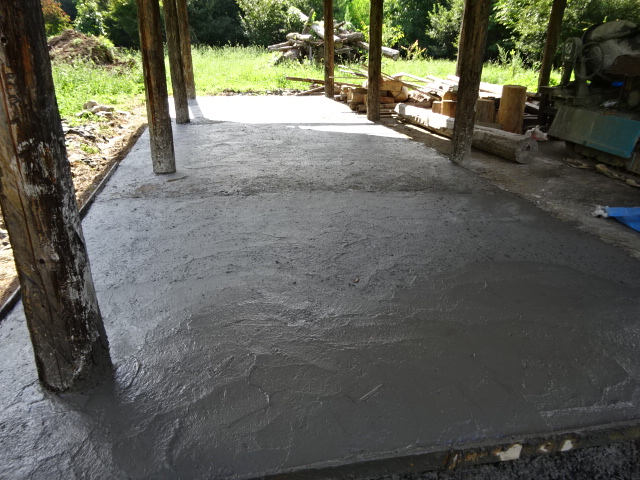
床にコンクリートを打つ
竹の侵入を防ぎ、防湿のためです
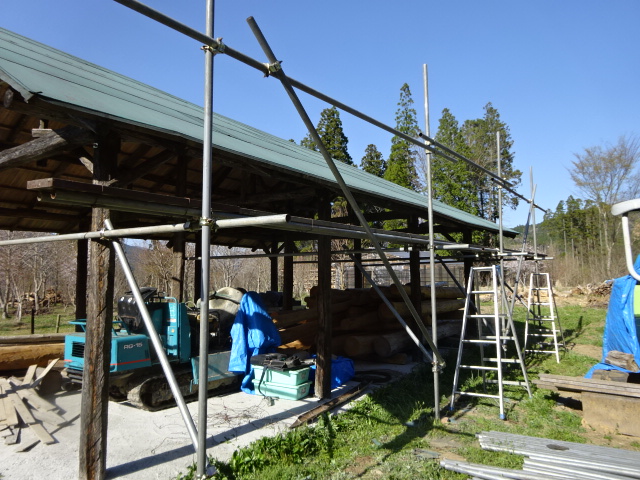
屋根を葺く
ルーフィングの防水でしのいできたが雨漏りがするので、屋根を葺くことにした
変形した屋根ゆえ、柔軟性のあるアスファルトシングルを屋根材とする。
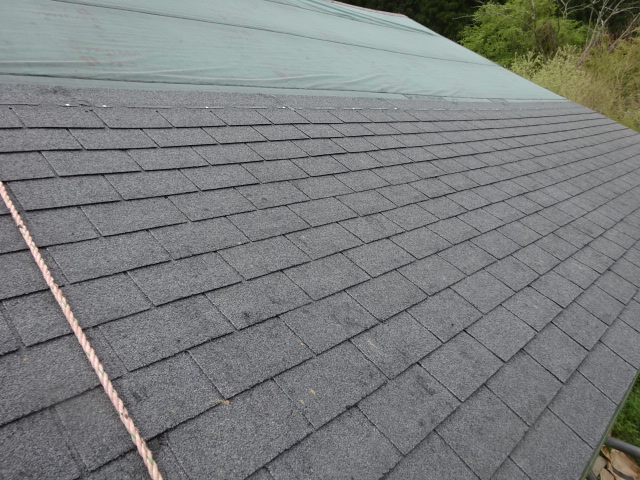
下から順番にアスファルトシングルを釘で打ち付け、接着剤で止めてゆきます、
簡単で単純な作業の連続です、高所作業ゆえ慎重さが求められる。
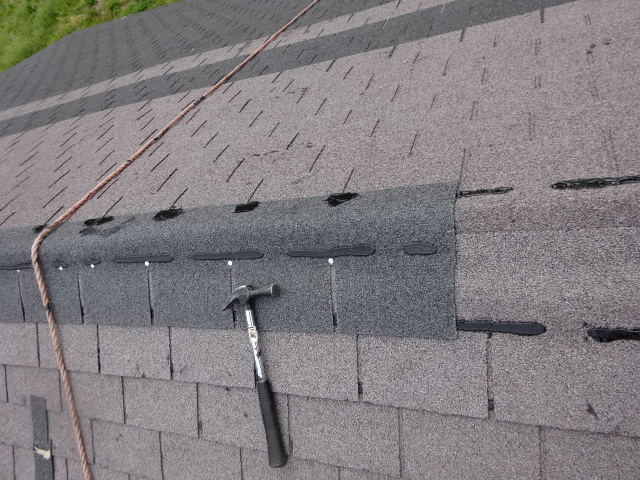
アスファルトシングルを屋根の両側から頂上まで葺きあげました、色違いの屋根材を購入し、2トーンカラーになりましたが、これもご愛嬌です。
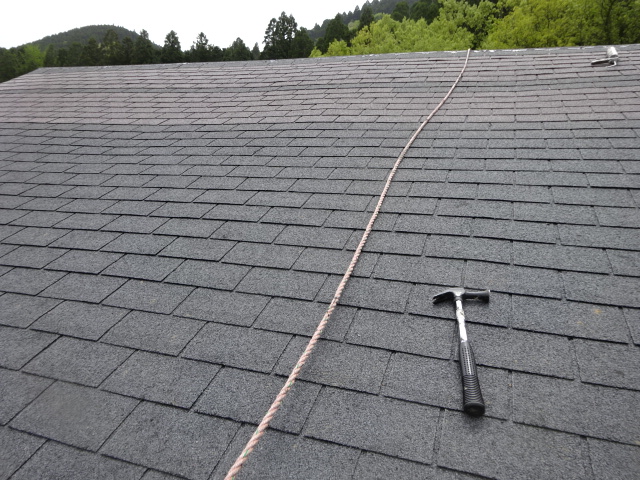
屋根ふきの完了